Activities
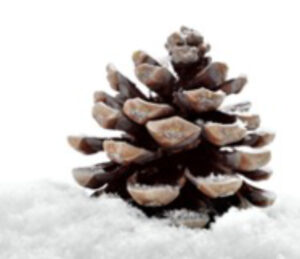
Bubbling Pine Cone
Materials:
Pine cones
Baking soda
Vinegar
Spoon
Dropper
Plastic table cloth/ tray
Add some sequins of your choice!
Place your chosen pine cones on the plastic tray or table cloth to keep this experiment clean up to a minimum. Sprinkle your baking soda and your special sequins on top of the pine cones. Once you think you have put enough baking soda, fill up your droppers with some vinegar and begin dropping on your pine cone. This is when your experiment should really begin and your pine cones will start to bubble! Try it out on as many pine cones as you can find.
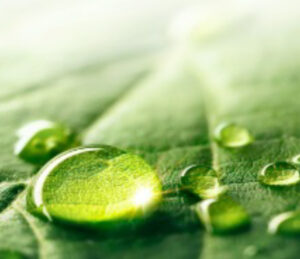
How Do Leaves Breathe?
Materials:
Bowl of water
Some leaves
A magnifying glass
Make sure you choose a leaf from a tree or plant and remove it yourself so we know it is an active leaf. Preferably using a glass bowl so you can see photosynthesis happen, place your lead in the bowl after filing it with water and place a rock or heavy object on top of the leaf so it is fully in the water. If possible, place the leaf in some sunlight and leave it there. Now just wait for a few hours for the leaf to do it’s breathing. When you check back, there should be bubbles all around the leaf that are showing it has performed photosynthesis. For a better look, try using a magnifying glass.
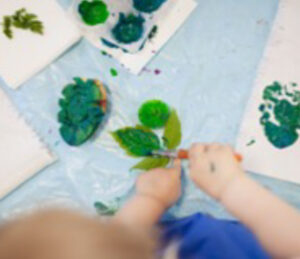
Chlorophyll Painting
Materials:
8-10 leaves
White sheet of paper
Metal spoon
To get started, lay your leaves on the white piece of paper. Fold the paper in half, making sure that the leaves are in between. Take the metal spoon and firmly push down and rub the spoon on the paper, making sure to go over the leaves. This should begin producing green color, or chlorophyll from the leaves. You can also ball up the leaves and use them as paintbrushes by rubbing them directly onto the paper to produce color. Compare you leaves and decide which ones produced more color!
Soda Bottle Compost Container
Materials:
Empty 2 liter bottle
Soil
Anything compostable from your home- newspaper, grass, leaves, spoiled produce
To start, cut off the top of the bottle and make sure to rinse out the inside well. Take off any labels or stickers so that you can see the inside. Start off by packing a layer of soil into the bottom, and then add a layer of compostable material. Continue alternating between soil and compost layers. Once you fill it up, add some water to your bottle. Make sure it is damp all the way through, but not soaked. Next, let your bottle sit out in the sunlight for a few weeks. Taking pictures and making some notes is a great way to see how your compost changes over time!
Make Your Own Paper
Materials:
Window screen
Two plastic wash tubs
Washcloth/rag/burp cloth/large piece of felt
Water
Torn paper from newspaper, tissue paper, magazines, etc. Be sure that it’s staple and tape-free
Blender
Small seeds (optional)
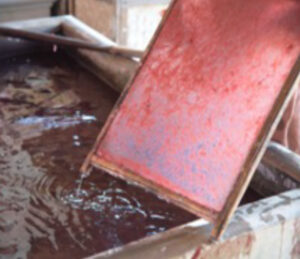
To start, tear the paper into tiny strips. Place the window screen on top of the plastic tub. Next, add the paper to a blender and fill it with water until the paper is covered. Run the blender on a low speed, and then continue to blend it a little bit faster until you get it to a smooth pulp. Spread the pulp from the blender across the screen and then lay your cloth on top to absorb the water, while also pushing the water through the screen. Flip the screen over onto a table so that the paper is laying on the table, still on top of the cloth. Let the paper lay out to dry for about a day, noting that thicker paper will take longer to dry. Try coloring on it to see how it works!
Reading Tree Rings
Materials:
A stump
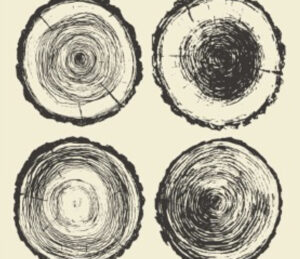
You can learn a lot about the life of a tree by examining its rings. Every spring and summer, a tree adds layers to its trunk; quicker spring growth appears light and slower summer growth appears dark, so by counting the number of dark rings, you can calculate the tree’s age in years. In years when the tree was healthy, you will observe broad, evenly spaced rings. Narrow rings indicate that the tree was lacking resources that year. Perhaps there wasn’t enough rain, or there were too many trees nearby crowding it out and it didn’t get enough sun, or perhaps it had an insect infestation. Several narrow rings in a row usually indicate a drought. If the rings are broader on one side and narrower on the other, that can indicate that something was leaning against the tree as it was growing. You may see scarring on a ring from when the tree survived a forest fire. If you know when the tree was cut down, see if you can find the ring from the year you were born, or the year your parents were born. What was happening in the tree’s life then?
Identifying Trees
Materials:
Tree identification guide
Notebook
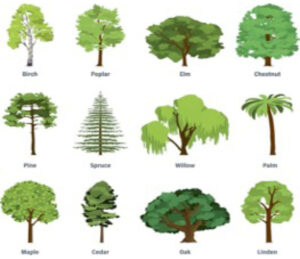
Using a tree identification guide, go for a walk around your neighborhood and see how many species of trees you can find. Record them in a notebook and collect a leaf from each, or take a photo of each species and label it with its name.
Transpiration Demonstration
Materials:
Clear plastic bag, like a produce bag from the grocery store
Twist tie or string
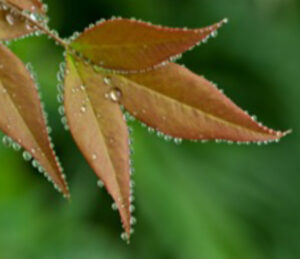
On a hot sunny day, choose a tree and tie a dry, clear plastic bag around several of its leaves. When you return a few hours later, you should notice drops of water all over the inside of the bag. How did they get there? Trees draw water from the soil with their roots and pull that water up through their trunks, through their branches, and out to their leaves. Some of this water collects on the underside of the leaves and evaporates into the air in a process called transpiration. Trees transpire the most on hot, dry days. About ten percent of the water in our atmosphere comes from trees and other plants in this way. Scientists estimate a mature oak tree can transpire 40,000 gallons of water every year!

Pinecone Birdfeeder
Materials:
Open pinecone
Peanut butter
Birdseed
Plate
String
Knife or small spatula
Make a treat for the birds that call your trees home! First, tie a piece of string to the top of your pinecone. Fill a plate with enough birdseed to cover it. Using the knife or spatula, spread a thin layer of peanut butter all over the pinecone, then roll it in the plate of birdseed. Hang your bird feeder in a tree and then wait for the grateful birds to visit!
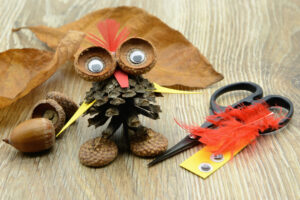
Pinecone & Acorn Owls
Materials:
pinecones
acorn caps
construction paper
glue
scissors
optional: googly eyes & feathers, dried leaves
Start by cutting two wings and a beak from construction paper. Glue two acorn caps to the large end of the pinecone for feet. Attach two more at the pointy end for the eyes. Add the wings and beak. If you don’t have googly eyes, make the interior of the eyes from construction paper. Add a feather for decoration.
You can use dried leaves instead of construction paper for the wings.
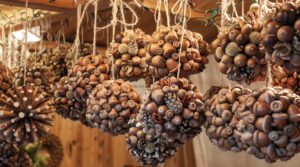
Acorn Baubles
Materials:
acorns
pinecones
cinnamon sticks
string/twine/ribbon
hot glue
Styrofoam or paper mâché balls
optional: large-eyed embroidery needle
Caution: Due to the use of hot glue, this project is for older children with adult supervision.
To prevent insects from ruining your project, you may wish to dry the acorns in the oven at 200 degrees for two hours.
If you have a needle with an eye large enough for your string, thread it and poke it through the ball to make the hanging loop. If not, either tie your string/twine around the ball and/or use hot glue to secure it to the ball. Use the hot glue to attach acorns, pinecones, and cinnamon sticks to the ball.
